

CopperLink - 9 Easy Steps To Install
Flame-Free Installation
CopperLink is engineered to offer installers the benefits of flame-free mechanical press joining technology as an alternative to the traditional soldering copper technique. This process removes the fire risk on site and eliminates the need for nitrogen purge. Follow the 9 simple steps below to get your job done!
Cut copper tube.
Deburr: if using an existing copper tube, first deburr the end of the pipe and then clean with emery paper or soft scourer.
Mark: align the fitting with the tube to mark the insertion depth.
Check O-ring.
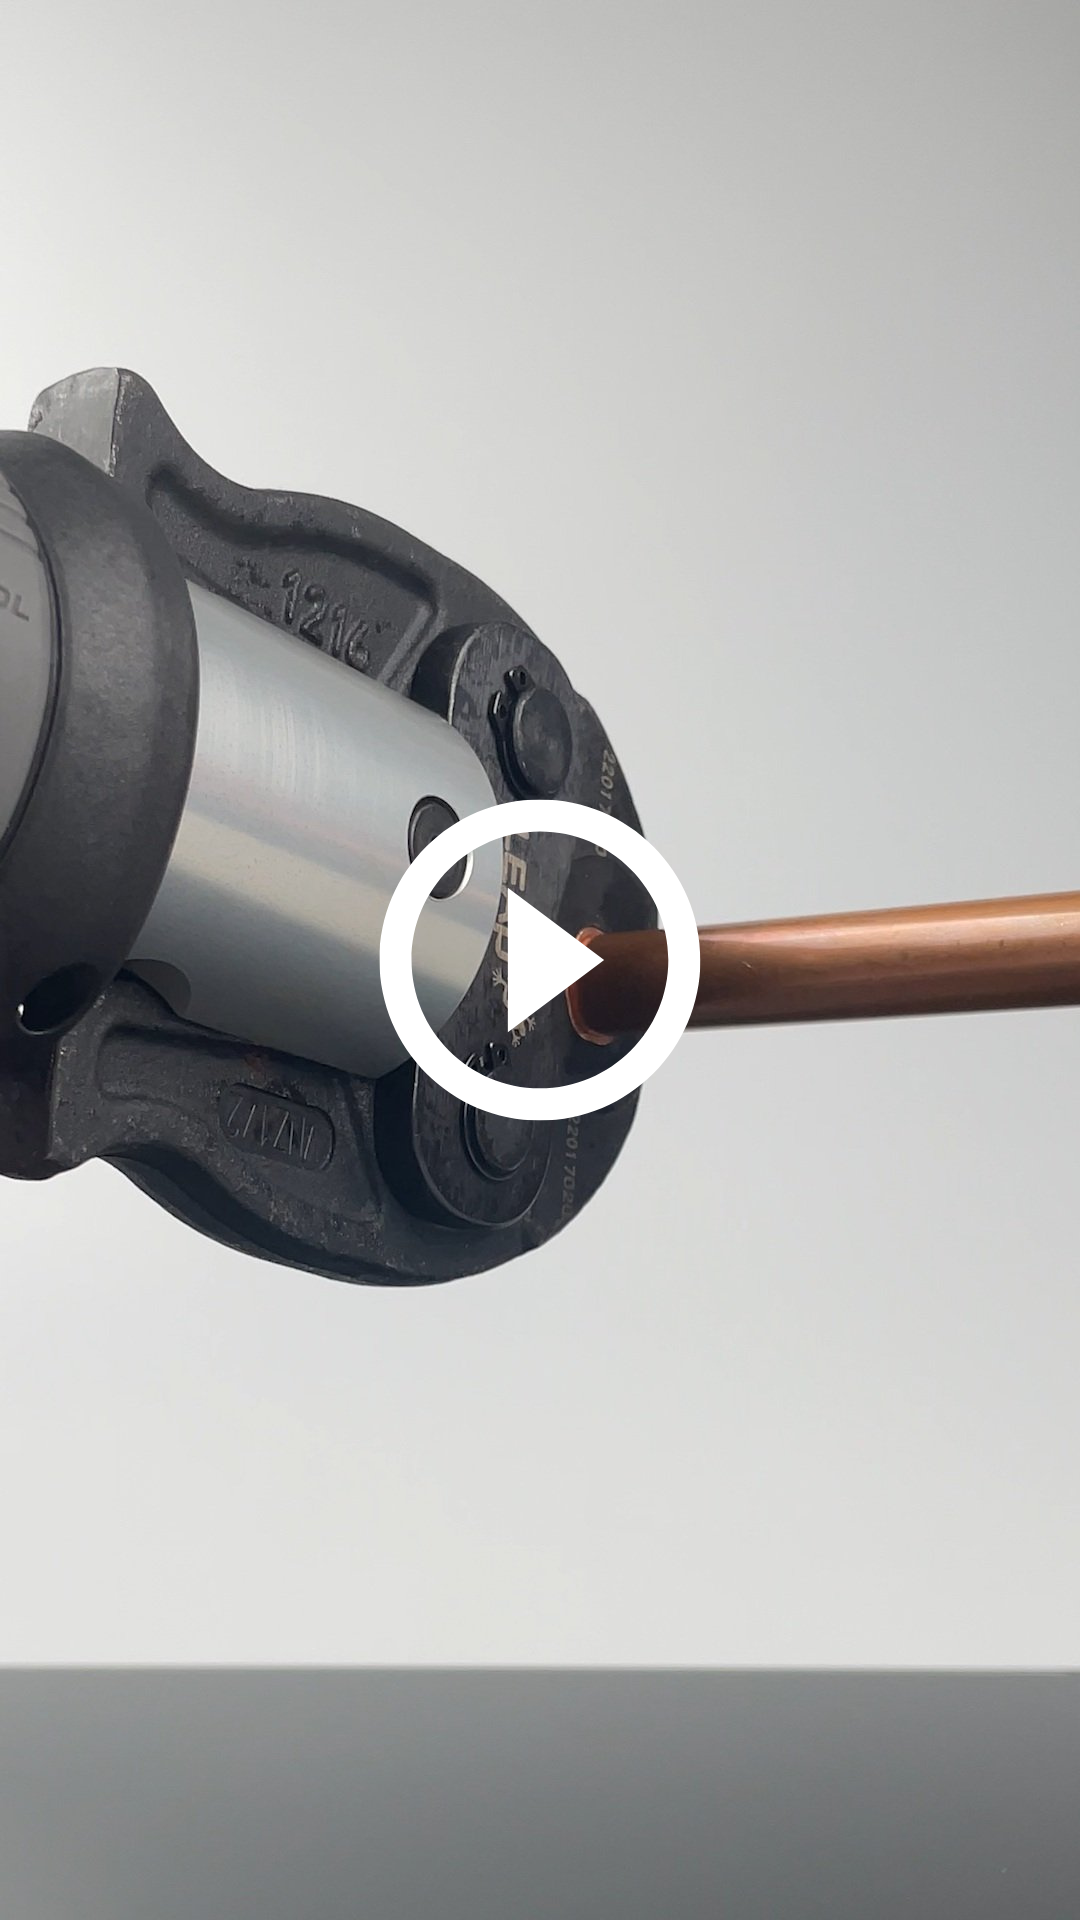
Select jaw: LEAP mini battery press tool is compatible with REMS VI profile and LEAP VNZ profile jaws.
Locate: place the raised bump of the fitting inside the groove of the press jaw.
Press: hold the start button. The operation will automatically stop when completed
Inspect: visually inspect the fitting. Don’t press a fitting multiple times
Pressure test: apply water pressure between 250 - 1500 kPa
Note: partial closing of the jaws will result in an incomplete joint. Defective joints must be replaced with a new fitting.
Using a PEX system? Learn how to install our Gastite/Watertite here.